

Press-On Nail Guides & Inspiration
Last-Minute Manicure: How to Apply Press-On Nails in 15 Minutes
Short answer: A 15-minute press-on manicure is possible when the set is already sized and your natural nails are clean and dry. Do not save time by skipping fit, prep, or firm pressure; save it by organising every piece before adhesive.
In this guide
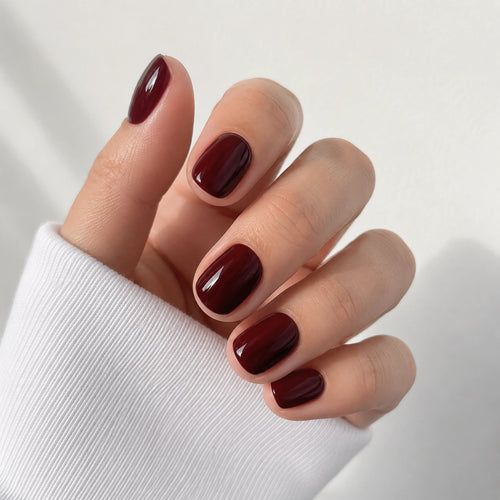
The useful part of a last-minute manicure is having a style ready that already works with your clothes. A compact French design or a clean solid colour can save the styling decision for another day, leaving your getting-ready time for fitting and applying the set.
Have the set ready before the invitation arrives
This 15-minute plan includes getting organised, checking the pieces and completing the manicure; it does not replace the existing 5-minute application message. Measure and practise a dry fit when your set arrives, so you are not learning the size chart during the final few minutes before leaving.
 Blush Frame
What to prepare in advance
| Factor | What to look for |
|---|---|
| Preparation | Lay out all ten sizes, adhesive, file, and nail cleanser before starting. |
| Fit | Use a pre-sized set or spend the first minutes matching sidewalls. |
| Adhesive | Follow the current product listing and use a thin even application. |
| Finishing | Press firmly, refine only rough edges, and keep the fresh set away from water. |
Your 15-minute getting-ready plan
- Keep a correctly sized standby set with its adhesive and preparation tools. The biggest time saving is having the ten pieces selected before you need them.
- Finish washing, skincare and dressing, then follow the set's preparation instructions. Use the getting-ready window for fitting and application instead of rushing straight to glue.
- Apply in finger order with the pressure and timing specified for your adhesive. Check the edges before leaving; the 15-minute plan is a preparation window, not a reason to skip instructions.

Keep a standby set ready
For your standby set, choose a colour you would happily wear to both an unexpected meeting and dinner afterwards.
For the core process, keep the Size & Fit Guide and Application & Removal Guide nearby. You can also review how to apply press-on nails, adhesive tabs vs nail glue, and gentle removal.
Last-minute shortcuts that cost time
- Applying a last-minute press-on manicure before showering, skincare, hair, or other water-and-oil-heavy preparation.
- Choosing length for the photo only and forgetting bags, clothes, transport, or work around the event.
- Travelling without the correct adhesive or any record of the sizes used.
Choose a ready-for-any-plan set now so the next invitation only needs an outfit decision. Explore the styles.
FAQ
When should I apply press-ons for a last-minute press-on manicure?
Apply after showering, skincare, hair, makeup, and other preparation involving water or oil. Leave time for steady pressure and the adhesive to settle.
Which length is most practical for an event?
Short or medium is the safest choice for long days, travel, bags, phones, and outfit changes. Choose longer shapes only when you are comfortable wearing them.
Should I use adhesive tabs or nail glue?
Match the adhesive to the wear you want and the current product listing. Included adhesive can differ by set, so check the listing instead of assuming.
What should I carry during the event?
Plan around preparation. A small file, nail cleanser, correct adhesive, and one or two spare sizes cover most minor problems.